Creating Collections
Deploy a collection that you can fill with tokens.
What you'll need:
- Some Enjin Coin on Enjin Matrixchain to pay for Transaction Fees and 6.25 ENJ for Storage Deposits.
You can obtain cENJ (Canary ENJ) for testing from the Canary faucet.- An Enjin Platform Account.
On Enjin Blockchain, every token must be placed inside a Collection.
There are two ways to use the Create Collection functionalities:
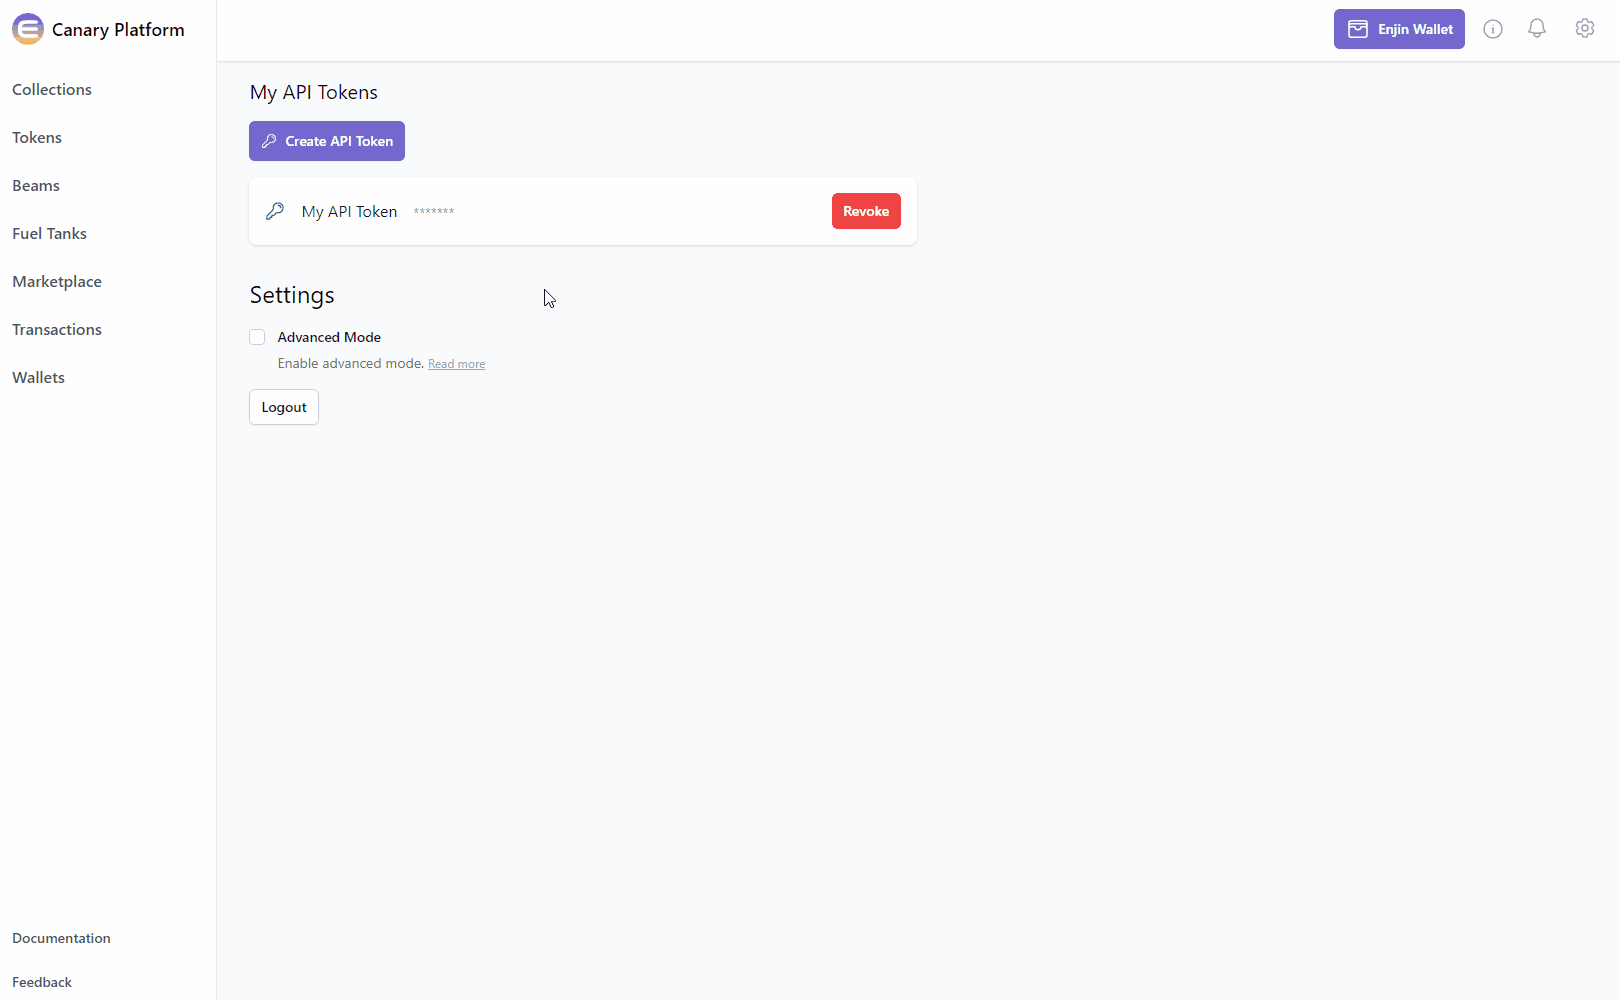
Option A. Using the Enjin Dashboard
In the Platform menu, navigate to "Collections". Then, click the "Create Collection" button.
From here, you can customize your collection's Mint Policy, Market Policy, Explicit Currencies (on option to delegate a token for Royalties), and Attributes.
- Mint Policy - The rules pertaining to token supply and number of tokens available to be minted in the future.
- Market Policy - Determines the rules which tokens in this collection must follow when interacting with the on-chain marketplace.
- Explicit Royalty Currencies - Choose which currencies are required to pay marketplace royalties for the tokens in this collection.
- Attributes - Set the collection details which are details stored in pairs, like a title and its content. Certain attributes, such as
nameanddescription, have special roles that are understood by many platforms, wallets and marketplaces.
Once you're satisfied with the options, click on the "Create" button at the bottom right corner to create the request.
The Transaction Request will then appear in the "Transactions" menu.

A notification appears after you create a Mutation.

Clicking View on the notification will take you to your Transactions List.
Since this transaction is a Mutation, you will need to sign the transaction using your Wallet.
- If a Wallet Daemon is running and configured, the transaction request will be signed automatically.
- If a wallet is connected such as the Enjin Wallet or Polkadot.js, the transaction must be signed manually by clicking the "Sign" button and approving the signature request in your wallet.
Once you've created a collection you're ready to start Minting Tokens.
Option B. Using the Enjin API & SDKs
The CreateCollection mutation is used to create a new on-chain collection.
mutation CreateCollection {
  CreateCollection(mintPolicy: { forceSingleMint: false }) { #Set to true to enforce single mint policy
    id
    method
    state
  }
}
using System.Text.Json;
using Enjin.Platform.Sdk;

// Setup the mutation
var createCollection = new CreateCollection()
    .SetMintPolicy(new MintPolicy().SetForceSingleMint(false)); //Set to true to enforce single mint policy

// Define and assign the return data fragment to the mutation
var transactionFragment = new TransactionFragment()
    .WithId()
    .WithMethod()
    .WithState();

createCollection.Fragment(transactionFragment);

// Create and auth a client to send the request to the platform
var client = PlatformClient.Builder()
    .SetBaseAddress("https://platform.canary.enjin.io")
    .Build();
client.Auth("Your_Platform_Token_Here");

// Send the request and write the output to the console.
// Only the fields that were requested in the fragment will be filled in,
// other fields which weren't requested in the fragment will be set to null.
var response = await client.SendCreateCollection(createCollection);
Console.WriteLine(JsonSerializer.Serialize(response.Result.Data));
#include "EnjinPlatformSdk/CoreMutations.hpp"
#include <memory>
#include <iostream>

using namespace enjin::platform::sdk;
using namespace std;

int main() {

    // Setup mutation data
    shared_ptr<MintPolicy> mintPolicy = make_shared<MintPolicy>();
    mintPolicy->SetForceSingleMint(make_shared<SerializableBool>(false));

    // Setup mutation
    CreateCollection createCollection = CreateCollection();
    createCollection.SetMintPolicy(mintPolicy);

    // Define and assign the return data fragment to the mutation
    shared_ptr<TransactionFragment> transactionFragment = make_shared<TransactionFragment>();
    transactionFragment
        ->WithId()
        .WithMethod()
        .WithState();

    createCollection.SetFragment(transactionFragment);

    // Create and auth a client to send the request to the platform
    unique_ptr<PlatformClient> client = PlatformClient::Builder()
            .SetBaseAddress("https://platform.canary.enjin.io")
            .Build();
    client->Auth("Your_Platform_Token_Here");

    // Send the request then get the response and write the output to the console.
    // Only the fields that were requested in the fragment will be filled in,
    // other fields which weren't requested in the fragment will be set to null.
    future<shared_ptr<IPlatformResponse<GraphQlResponse<Transaction>>>> futureResponse = SendCreateCollection(*client, createCollection);

    // Get the platform response holding the HTTP data
    PlatformResponsePtr<GraphQlResponse<Transaction>> response = futureResponse.get();

    // Get the result, a GraphQL response, holding the GraphQL data
    const optional<GraphQlResponse<Transaction>>& gqlResult = response->GetResult();

    // Write the result data to the console
    if (gqlResult.has_value() && gqlResult->IsSuccess())
    {
        const optional<Transaction>& transaction = gqlResult->GetData()->GetResult();

        std::cout << to_string(transaction->GetId().value()) << std::endl;
        std::cout << ToString(transaction->GetMethod().value()) << std::endl;
    }

     // Write any error messages to the console
    if (gqlResult.has_value() && gqlResult->HasErrors())
    {
        const optional<vector<GraphQlError>>& errors = gqlResult->GetErrors();

        for (const GraphQlError& error : errors.value()) {
            std::cout << error.GetMessage().value() << std::endl;
        }
    }

    client.reset();

    return 0;
}
fetch('https://platform.canary.enjin.io/graphql', {
  method: 'POST',
  headers: {'Content-Type': 'application/json','Authorization': 'Your_Platform_Token_Here'},
  body: JSON.stringify({
    query: `
      mutation CreateCollection ($forceSingleMint: Boolean!) {
        CreateCollection(mintPolicy: {forceSingleMint: $forceSingleMint}) {
          id
          method
          state
        }
      }
    `,
    variables: {
      forceSingleMint: false //Set to true to enforce single mint policy
    }
  }),
})
.then(response => response.json())
.then(data => console.log(data));
const axios = require('axios');

axios.post('https://platform.canary.enjin.io/graphql', {
  query: `
    mutation CreateCollection ($forceSingleMint: Boolean!) {
      CreateCollection(mintPolicy: {forceSingleMint: $forceSingleMint}) {
        id
        method
        state
      }
    }
  `,
  variables: {
    forceSingleMint: false //Set to true to enforce single mint policy
  }
}, {
  headers: { 'Content-Type': 'application/json', 'Authorization': 'Your_Platform_Token_Here' }
})
.then(response => console.log(response.data))
.catch(error => console.error(error));
import requests

query = '''
  mutation CreateCollection ($forceSingleMint: Boolean!) {
    CreateCollection(mintPolicy: {forceSingleMint: $forceSingleMint}
    ) {
      id
      method
      state
    }
  }
'''

variables = {'forceSingleMint': False} #Set to True to enforce single mint policy

response = requests.post('https://platform.canary.enjin.io/graphql',
	json={'query': query, 'variables': variables},
	headers={'Content-Type': 'application/json', 'Authorization': 'Your_Platform_Token_Here'}
)
print(response.json())
More Fields and Arguments Available!
The examples here illustrate basic uses of the
CreateCollectionmutation. However, this mutation supports many more arguments and settings not shown in these examples.For a comprehensive overview of all available settings and their descriptions for the
CreateCollectionmutation, please refer to our GraphQL Schema on Apollo.This resource will help you to fully utilize the capabilities of the
CreateCollectionmutation and tailor it to your specific needs.For instance, you'll find settings such as different supply types with the MintPolicy object, or enforcing royalties with the MarketPolicy object.
A WebSocket event will also be fired so you can pick up the collection in real time by listening to the app channel on the WebSocket.
You've created a collection, now Fill it with Tokens
Updated 3 months ago